Online Store
Accessories
Sewing Patterns
Cooking Recipes
Cooking Recipes
Everyday
Asian Noodles
Beef
Bread & Pizza
Cheese
Chicken
Egg
Fish
Pasta
Pork
Rice
Salad
Sauce
Seafood
Snack
Soup
Tofu
Vegetables
Sweet
Cake
Candies
Chilled Desserts
Cookies
Danish Pastry
Fruits
Ice Cream
Mochi
Deep Fried
Fast & Yummy
Basic ingredients
Blog
Find us also on
wacocoro
Etsy
YouTube
My Account
My Account
Cart
About us
Dans la lune
September 27, 2020
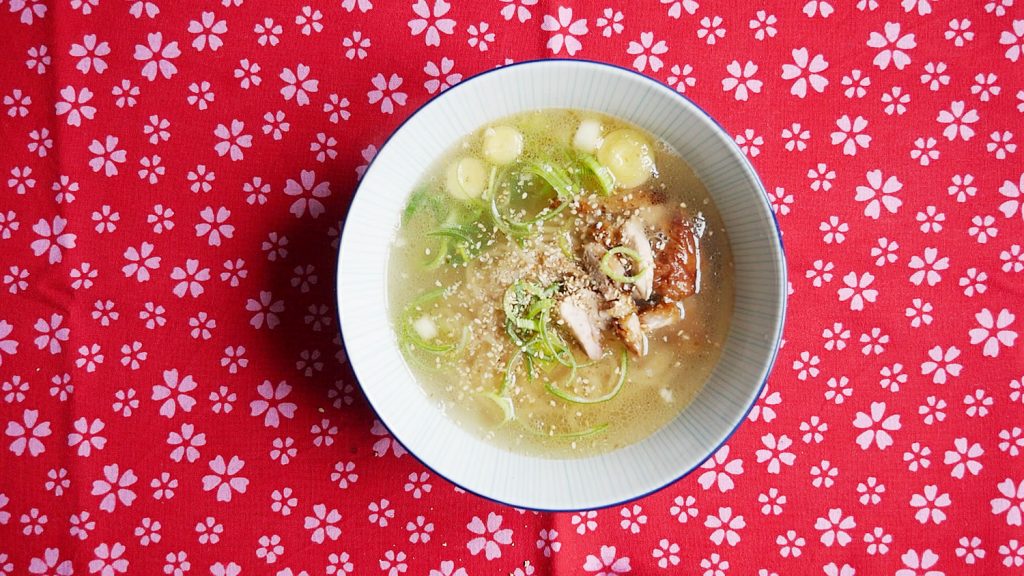
Egg drop noodle soup – Tamago toji udon
March 28, 2020
Homemade curry ramen with a pressure cooker
March 22, 2020
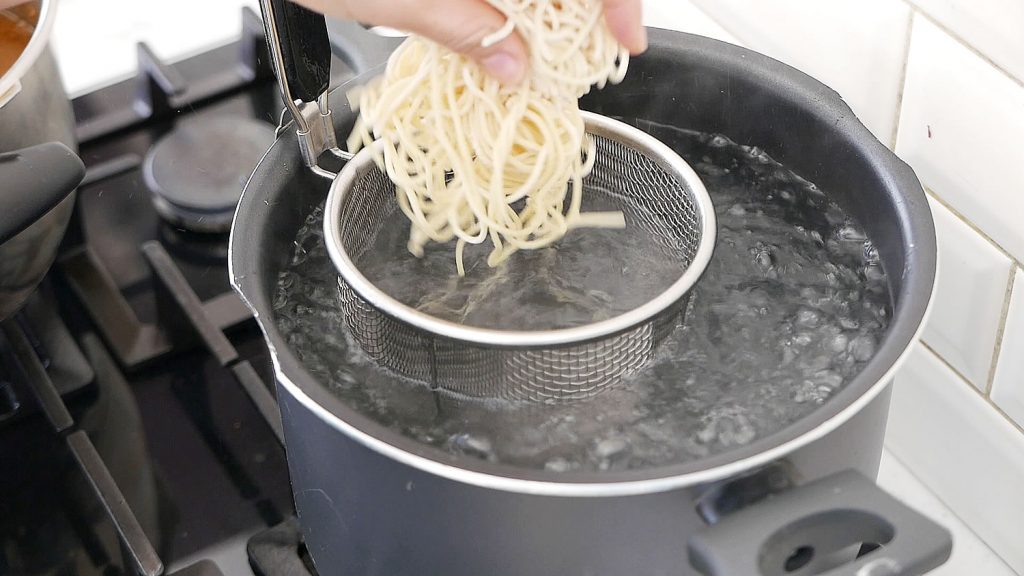
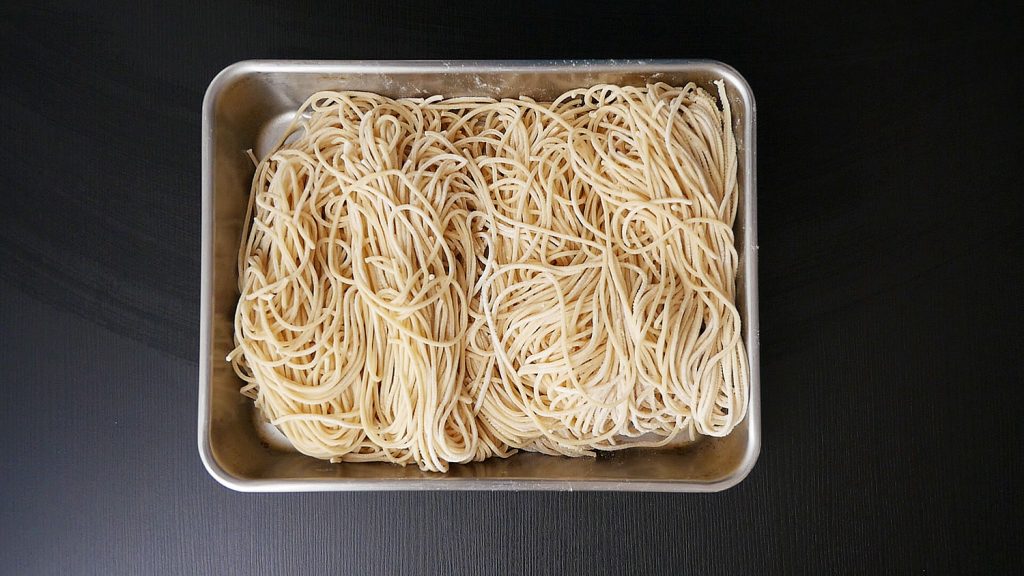
Homemade Egg Ramen w Philips Pasta Maker
March 22, 2020
Homemade Ramen w Philips Pasta Maker
February 2, 2020
Teuchi soba with kitchenaid
November 14, 2019
Homemade soba noodles with Philips pasta maker
1
2
Next Page »